Secure, static, hosting w/ S3, CloudFront, and ACM
Static html is cool; TLS is cool
I think static sites are a great idea for public facing sites. It is a very simple solution to getting content online, with very few downsides. It is relatively secure, maintainable, scalable, and best of all, cheap.
There are many tools for creating a static site. I’m using Jekyll, but there are several options to choose from. Once you have your static site content, I recommend hosting it in Amazon’s AWS S3. Any S3 bucket can act as a static html host, serving the stored content up as a webpage.
Recently, AWS announced ACM (AWS Certificate Manager), providing free TLS certificates for select AWS services. Unfortunately S3 isn’t supported directly, but we can use CloudFront!
In this post I’ll walk through hosting a static site with TLS on AWS. Just like this blog!
Requirements
- A domain name and control over it
- Be able to receive an email sent to the WHOIS admin contact
- Be able to update DNS settings
- Comfortable in the AWS console
- Static html that needs hosting
How
1. Use S3 bucket for static hosting
First you need an S3 bucket setup for static hosting to host the content. You can skip this if you already run an S3 hosted site. Here’s Amazon’s documentation on the subject, and an example.
- Create a bucket to hold the static content I named mine exactly ‘blog.jpterry.com’
- Upload a test index.html to make sure things are working Make sure it is world readable in permissions
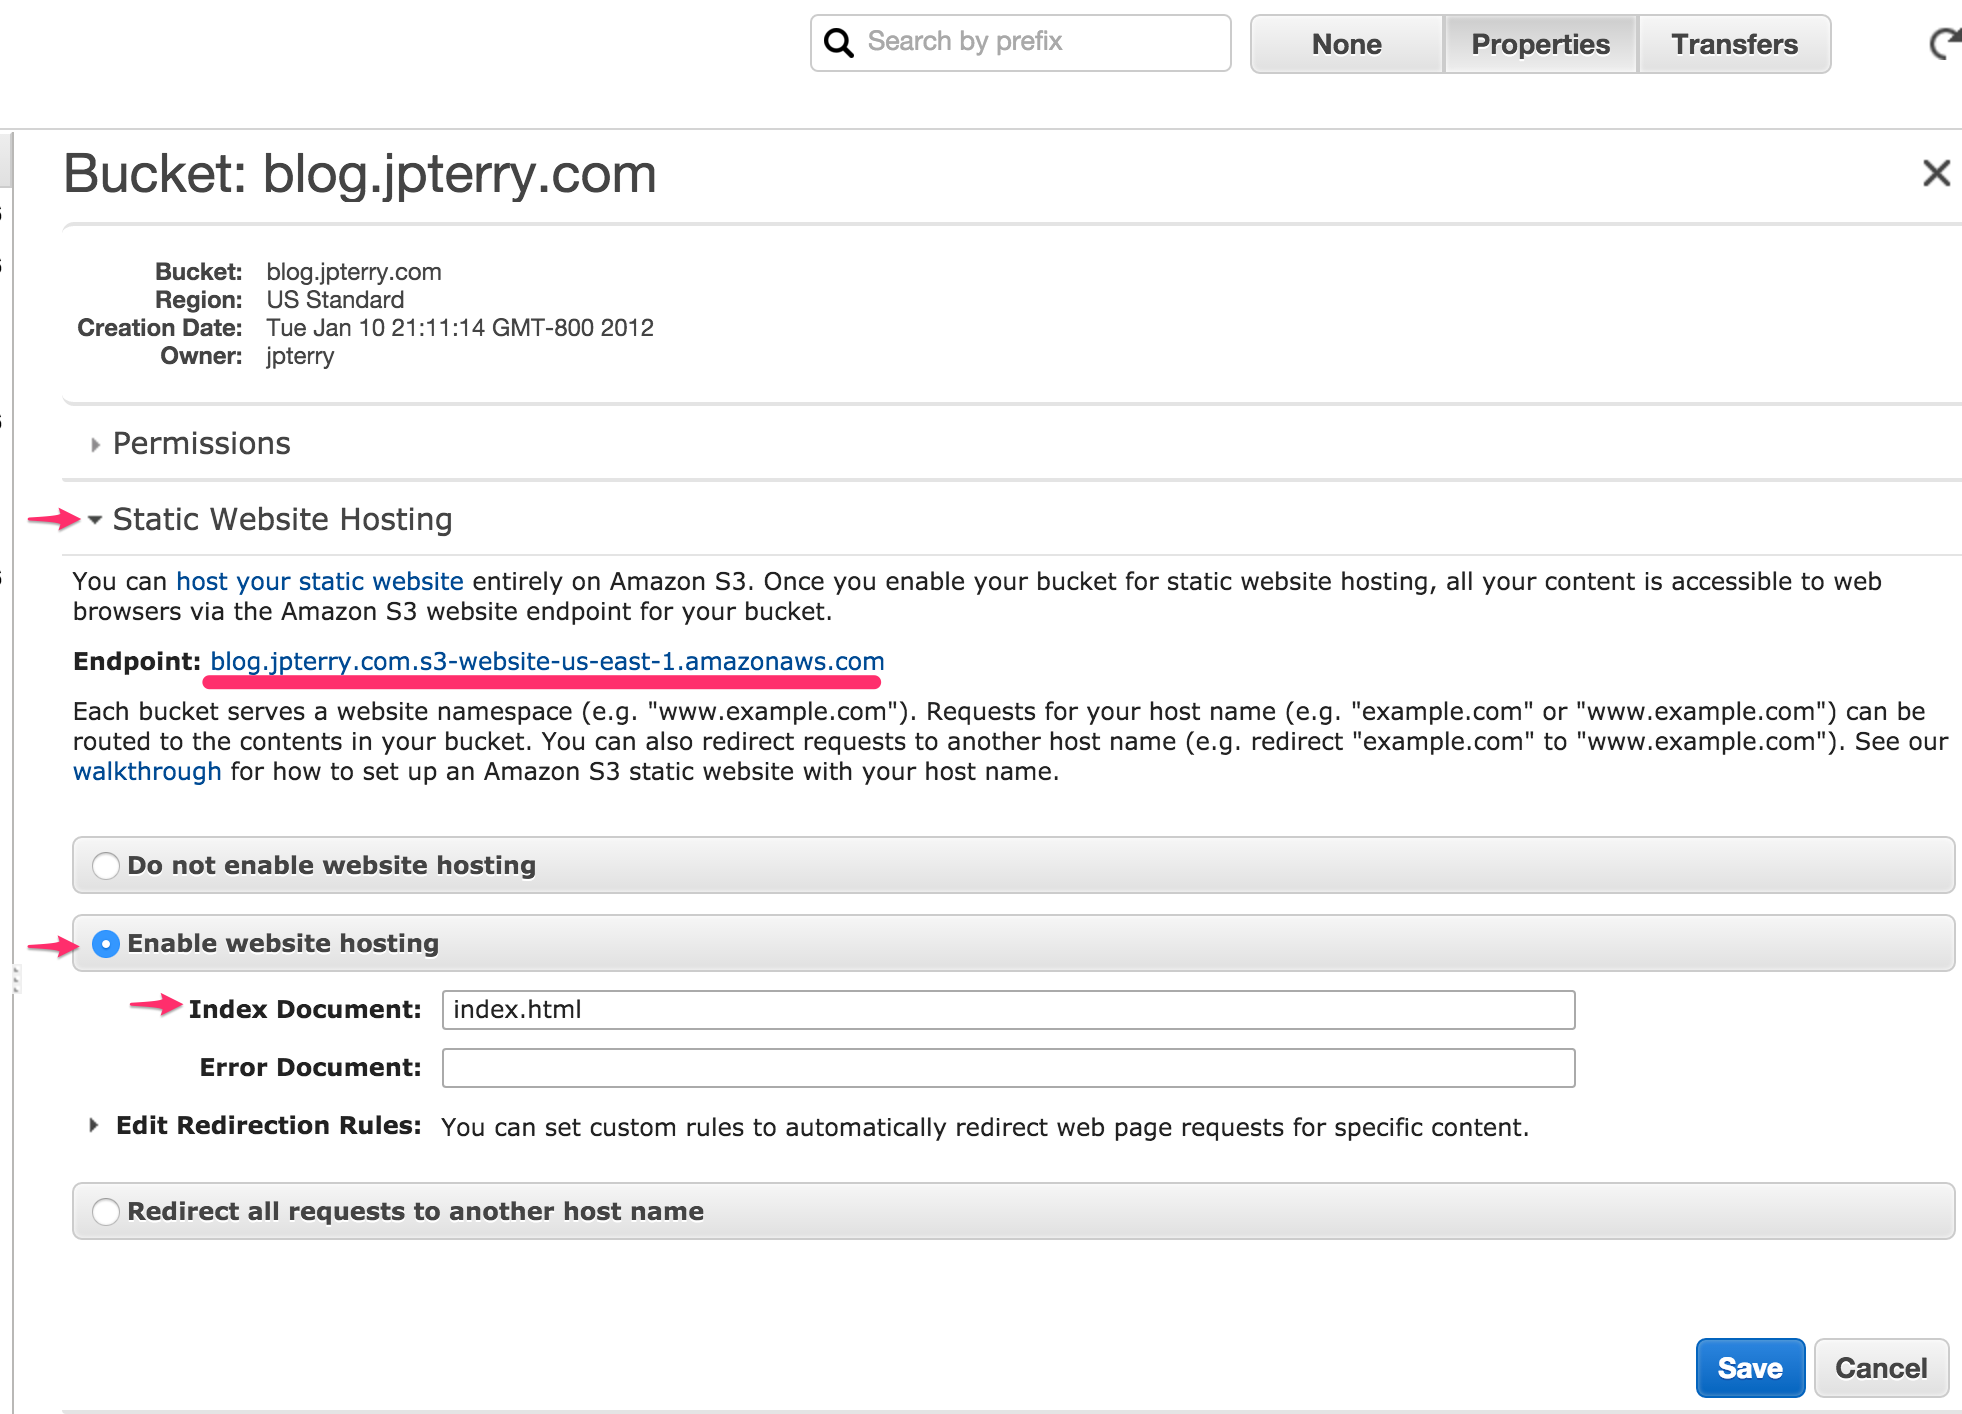
- Configure bucket for static hosting
- visit the Static endpoint in your browser, you should see your test index.html
After creating the bucket, my bucket properties set like this:
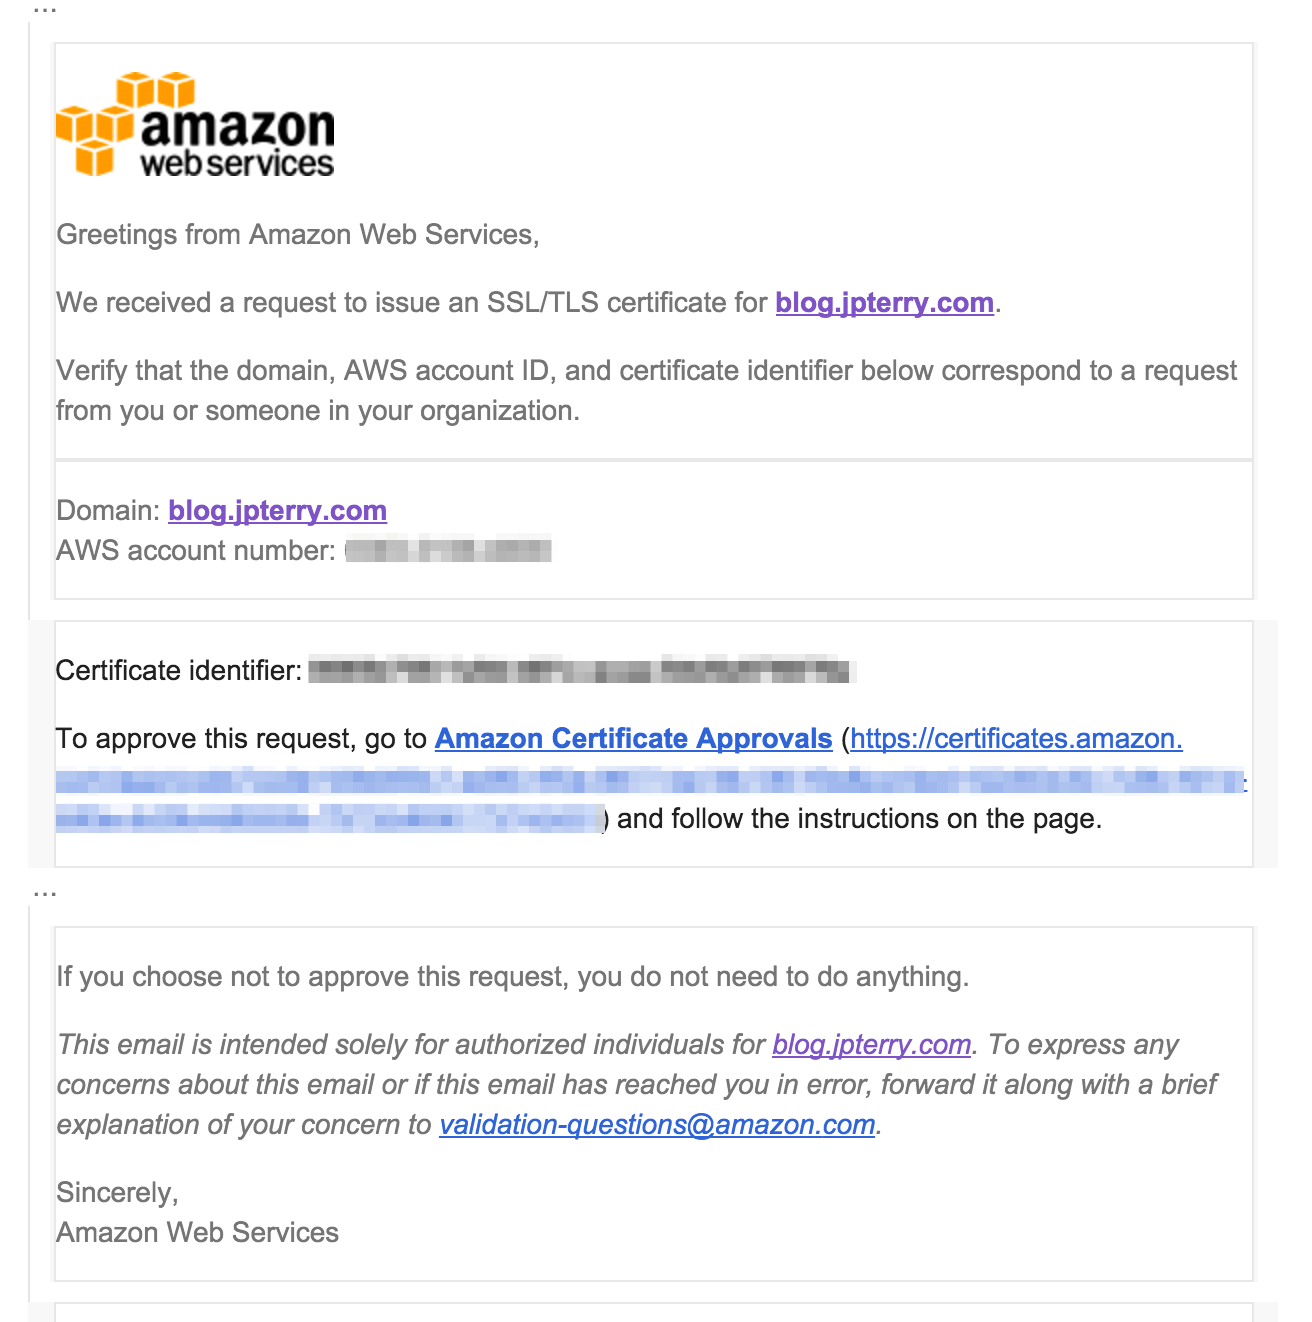
2. Use ACM to get a certificate
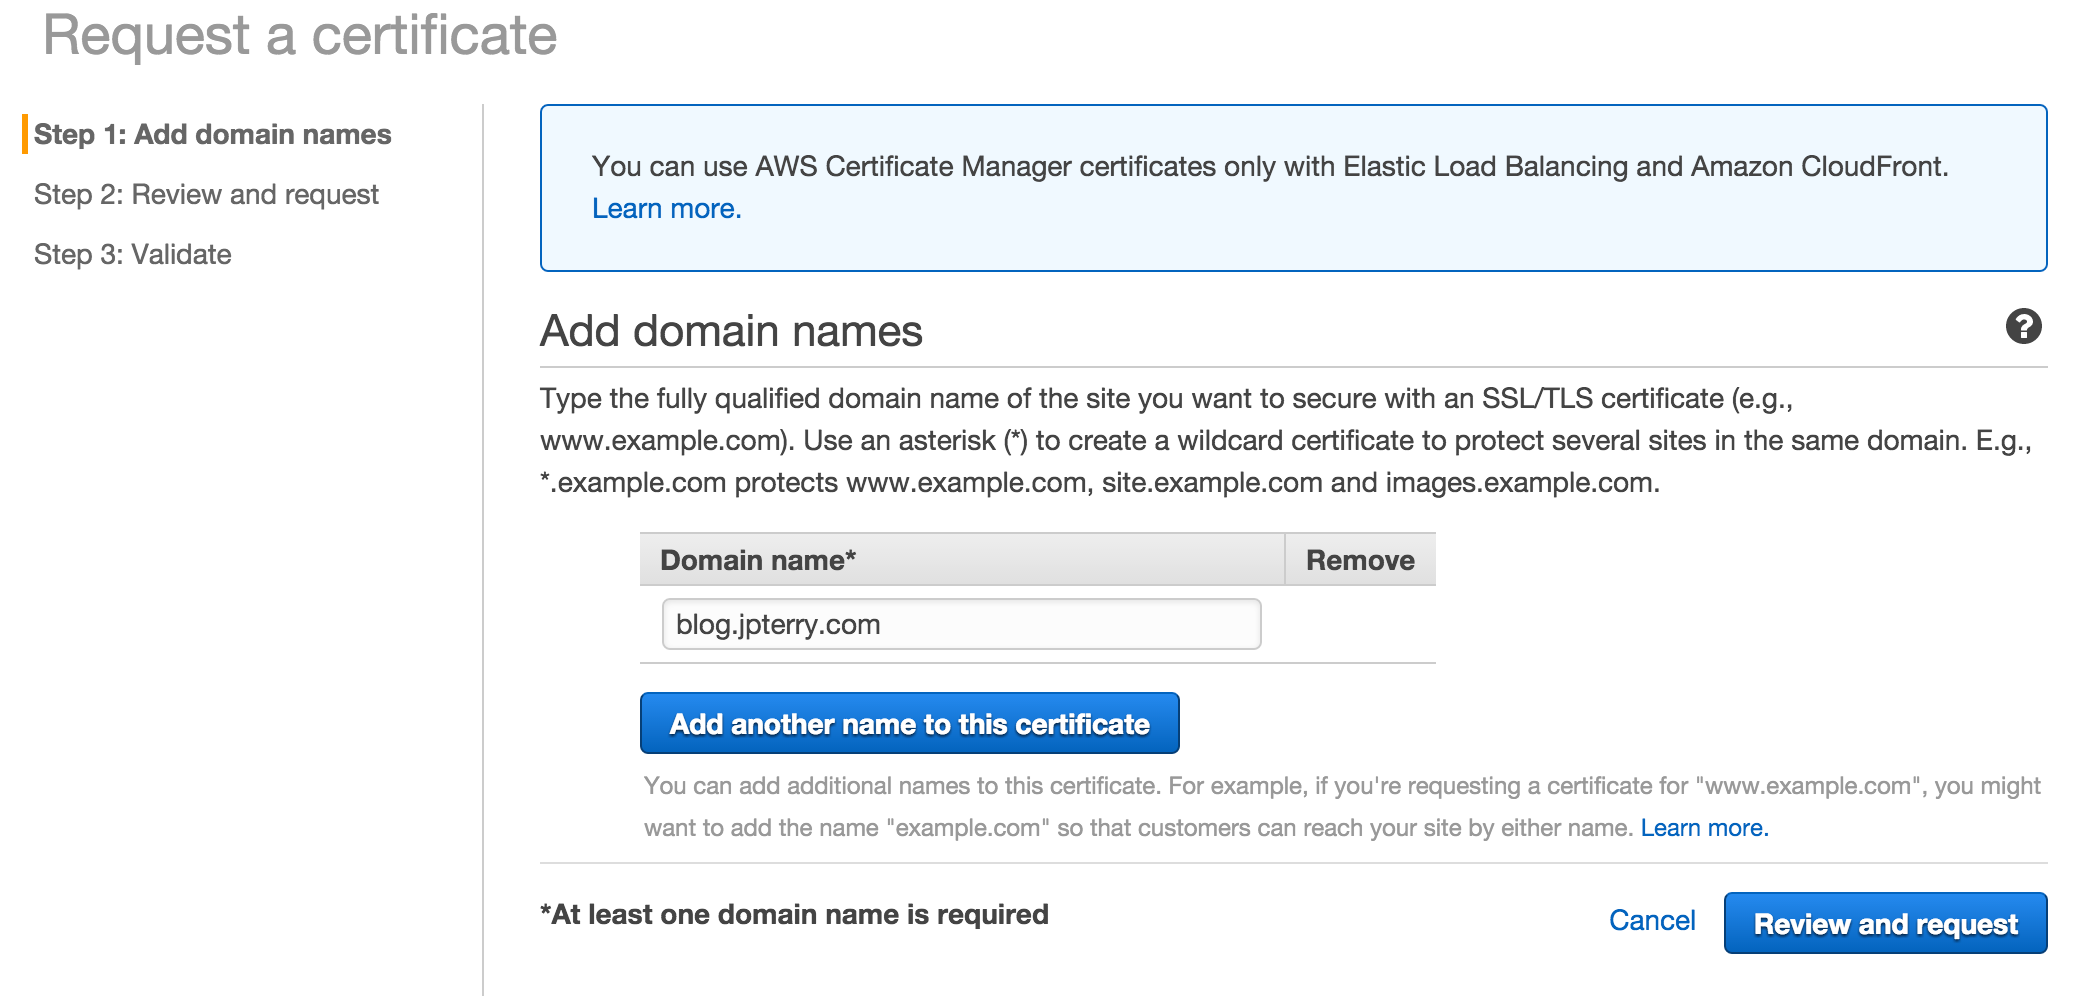
Creating a certificate with ACM is very straightforward.
- Specify the domain you want to secure.
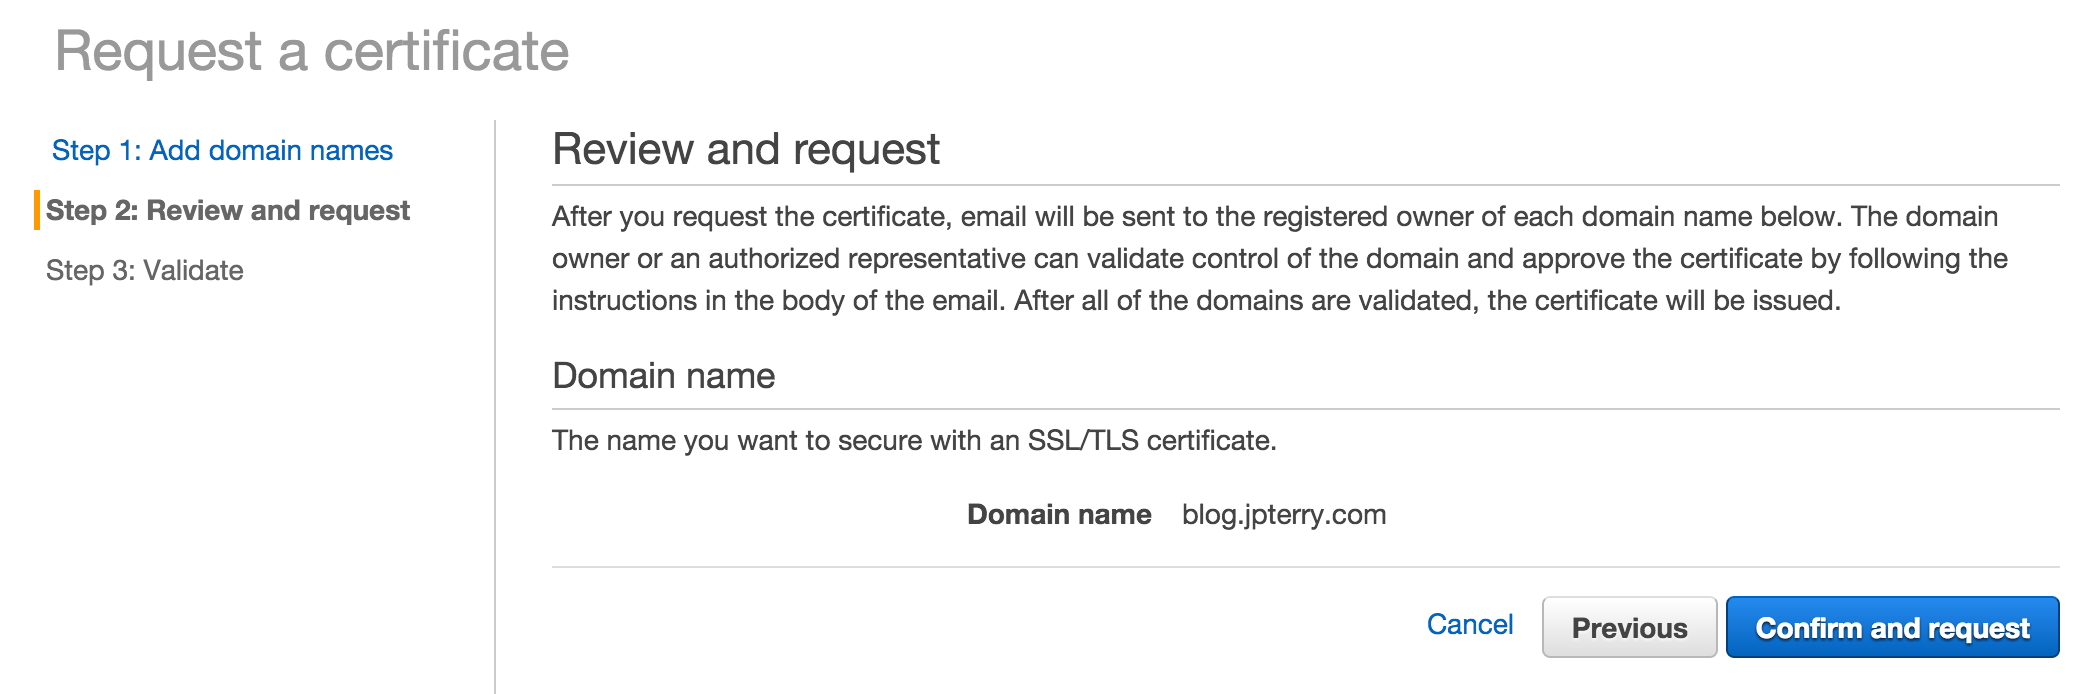
- Confirm & Request
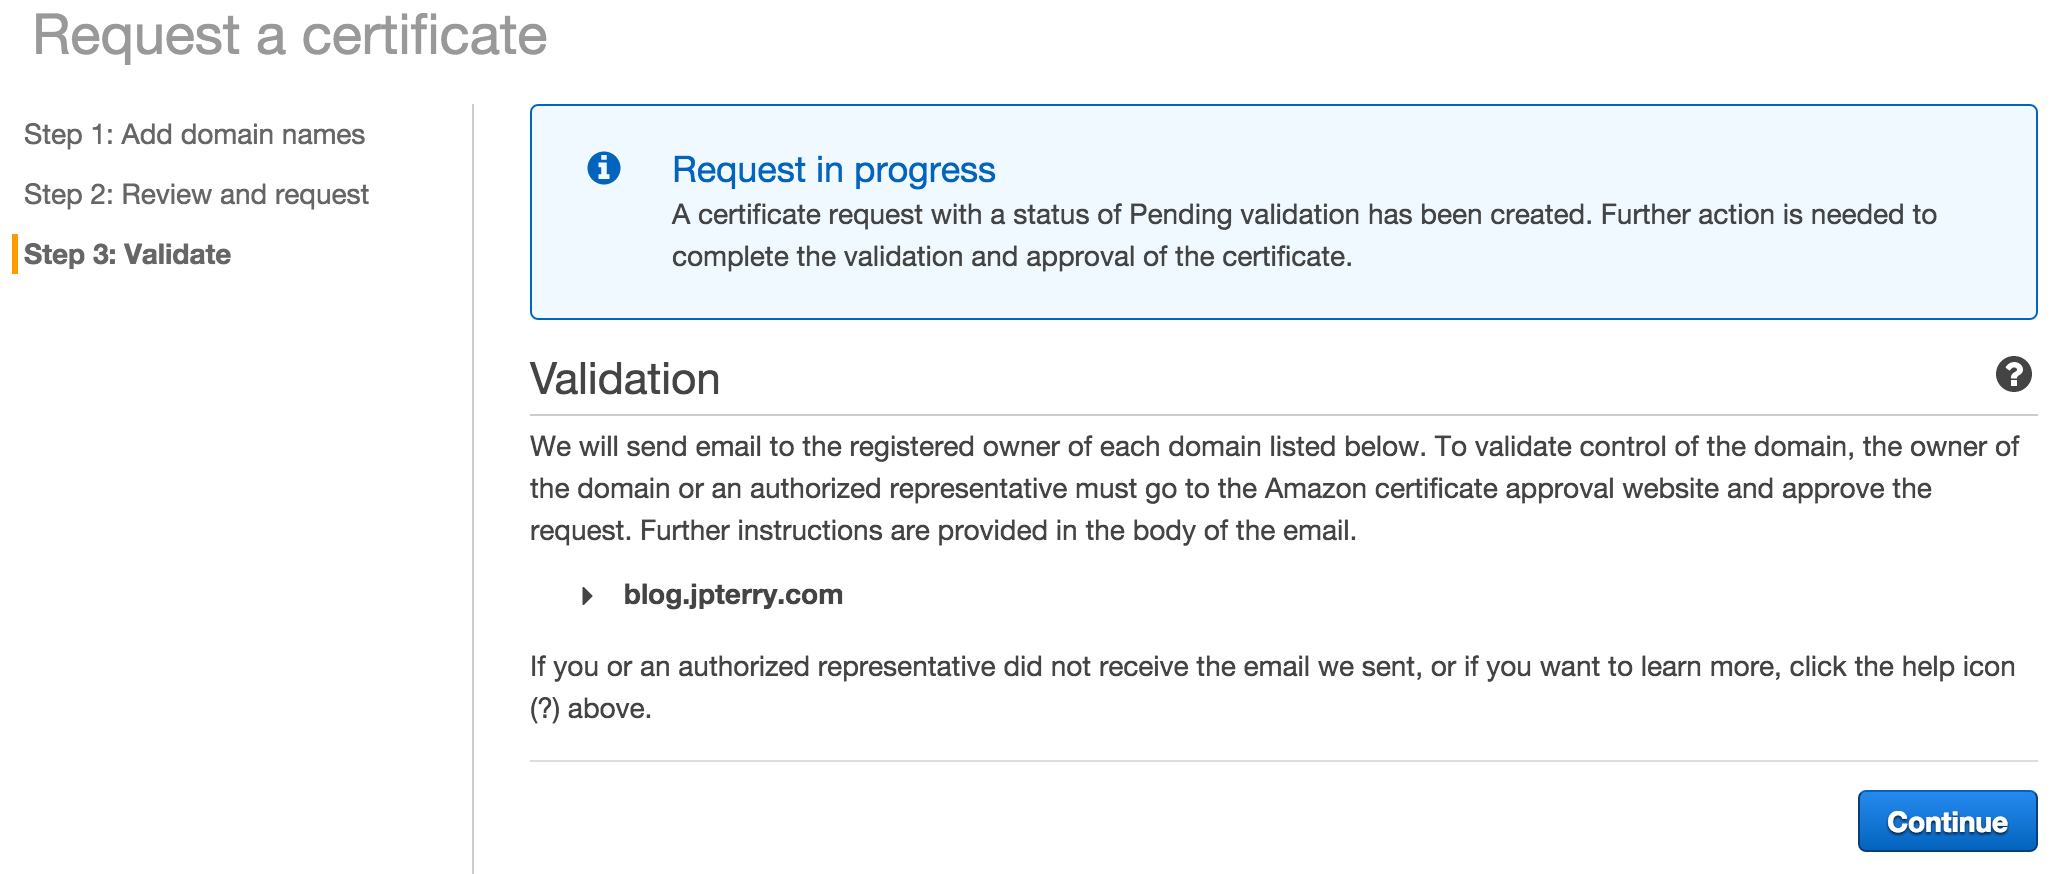
- Follow the instructions in the verification email
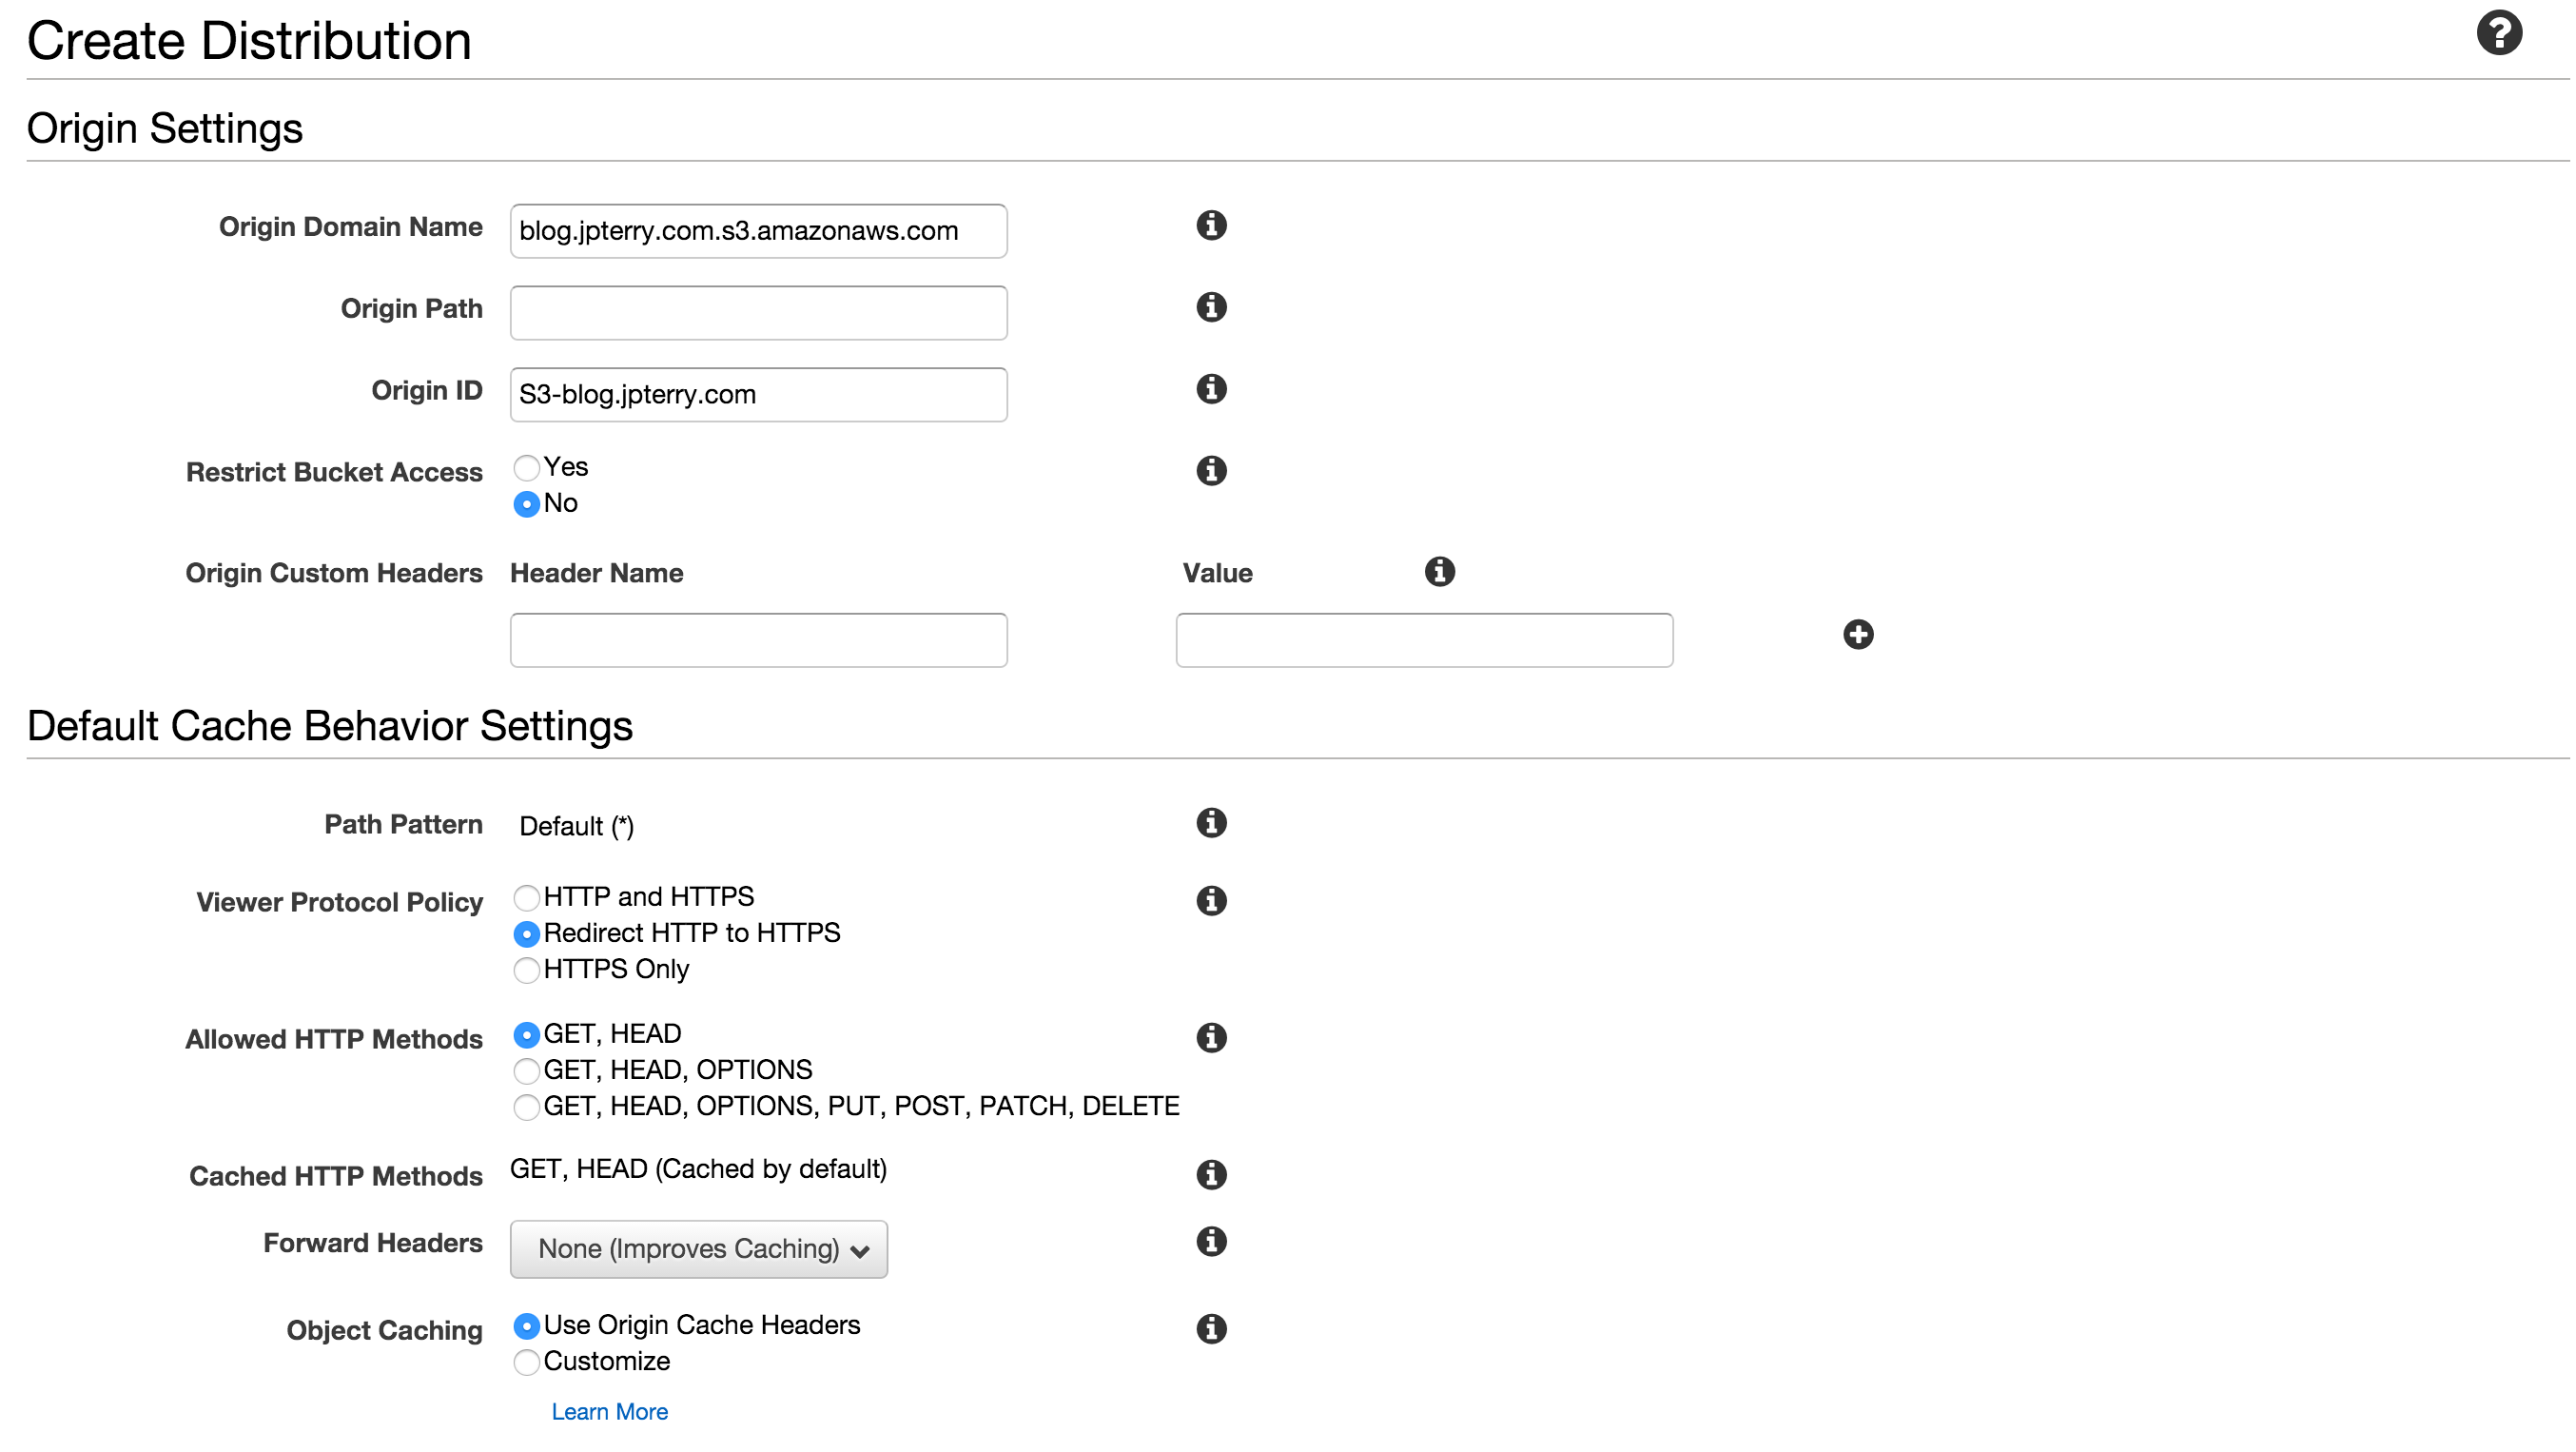
3. Create a Cloudfront distribution
-
Create a Web distribution
-
Settings that I changed from defaults
- Origin domain name: select your bucket
- Viewer Protocol Policy: Redirect HTTP to HTTPS (for tls everywhere. You can set how you like)
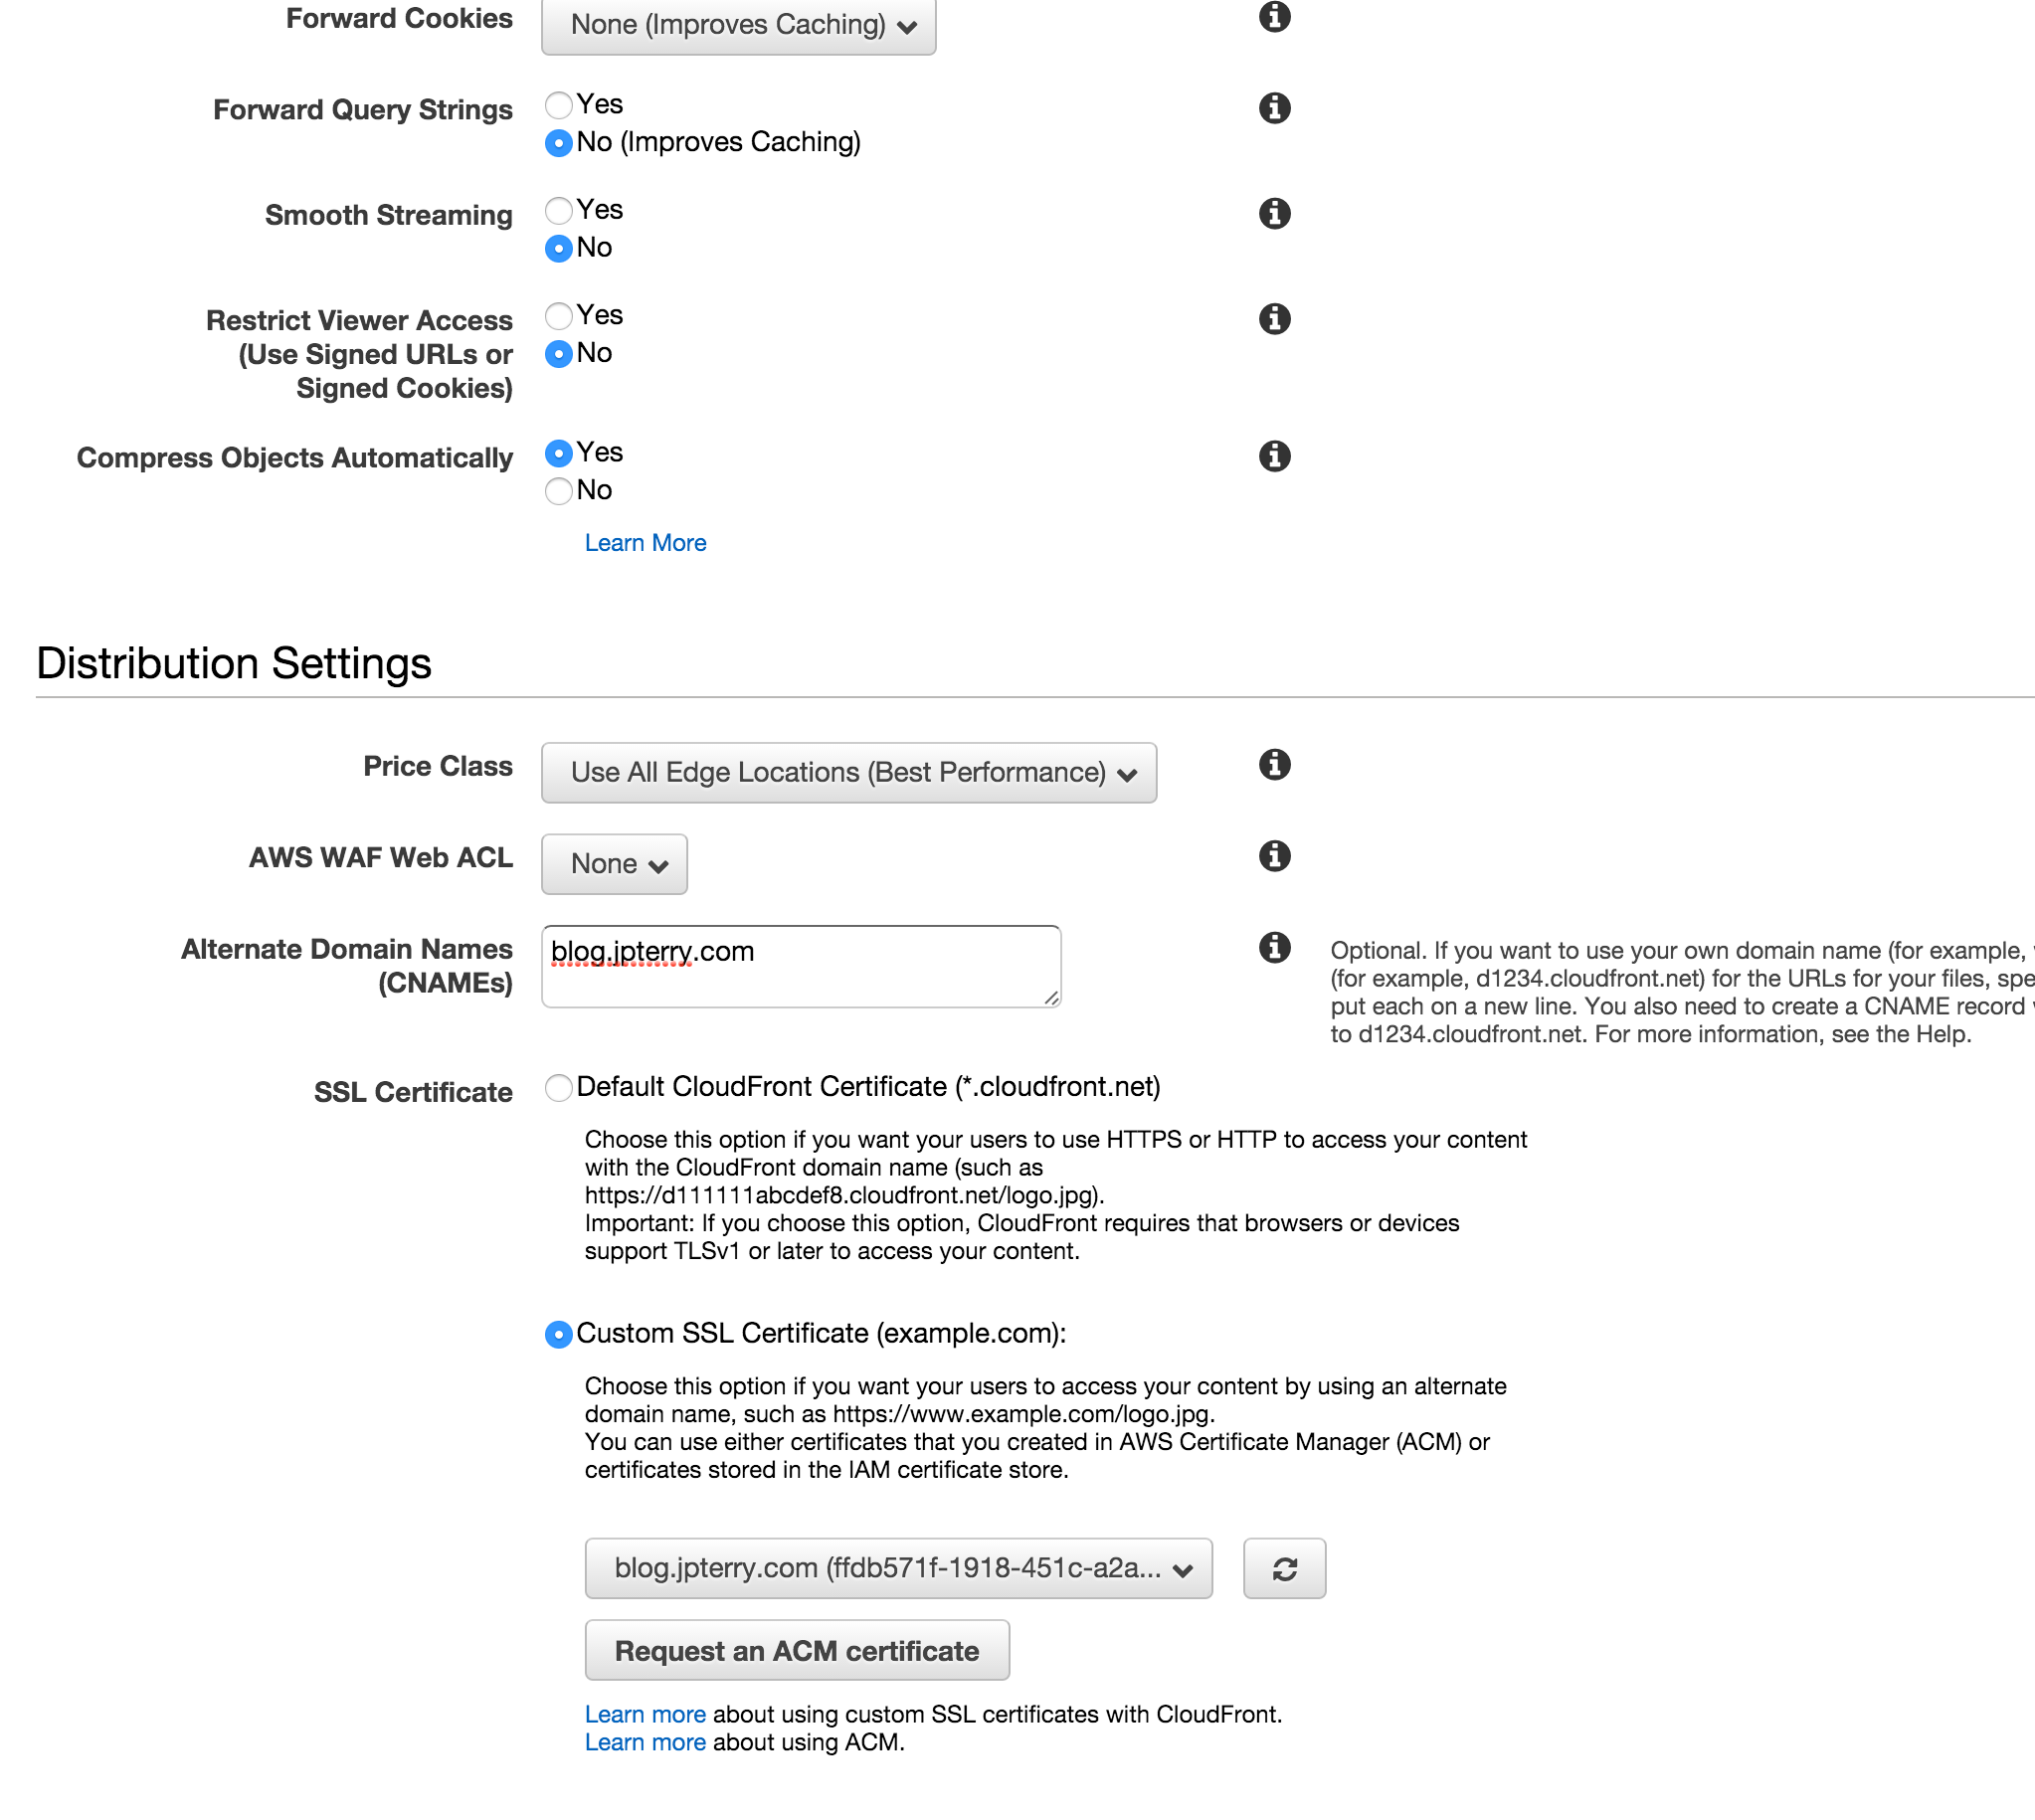
- Compress Objects Automatically: Yes
- Alternate Domain Names: Put your domain name, blog.jpterry.com in my case
- SSL Certificate: Select the one you created in ACM (should match the domain name)
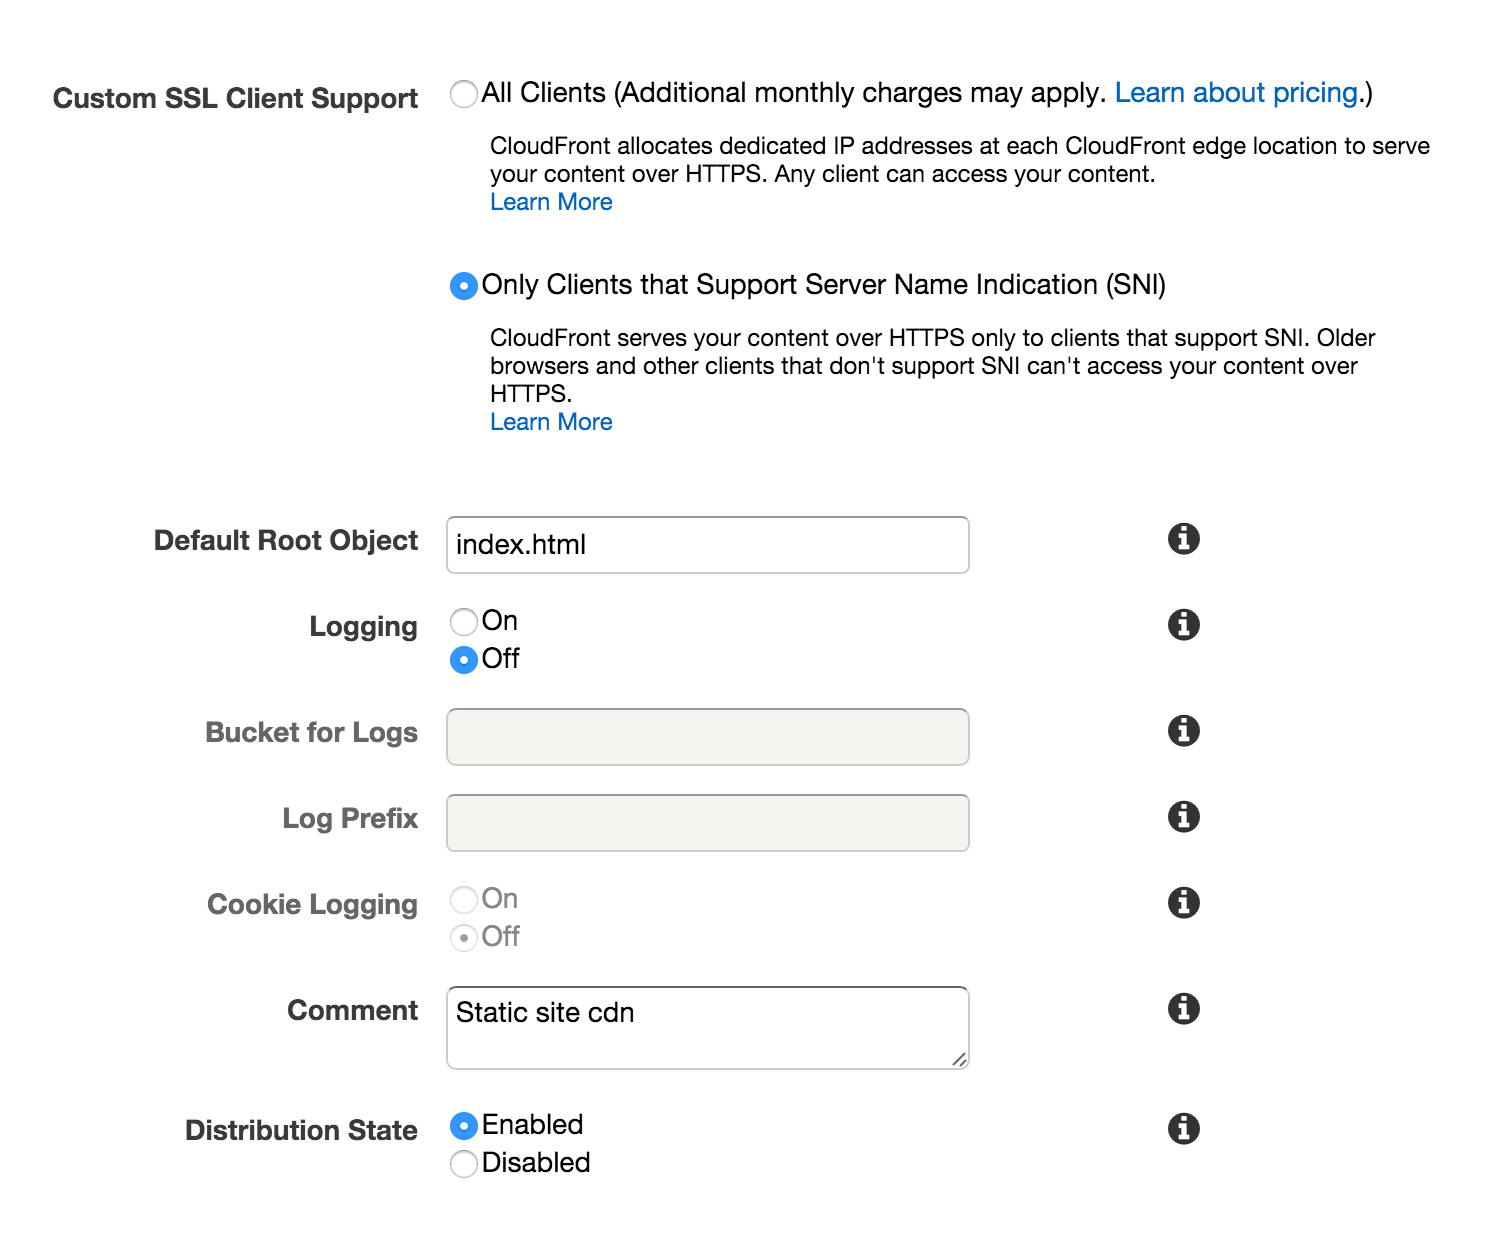
- Default Root Object: index.html
-
Note the domain name of your distribution. It may take a few minutes before the domain is available everywhere. You should eventually be able to open an https connection to this domain, and see your test index.html. Once status: “Deployed” it should be ready.
-
Test your site at the endpoint domain. Once you change DNS it will behave the same way. The whole site is being served from cloudfront, and some behavior might be slightly different than an s3 hosted static site.
4. Point your DNS at cloudfront
- Add a CNAME record that points at the cloudfront domain.
- After DNS propagation you should be able to visit domain over TLS and see a
verified tls connection.
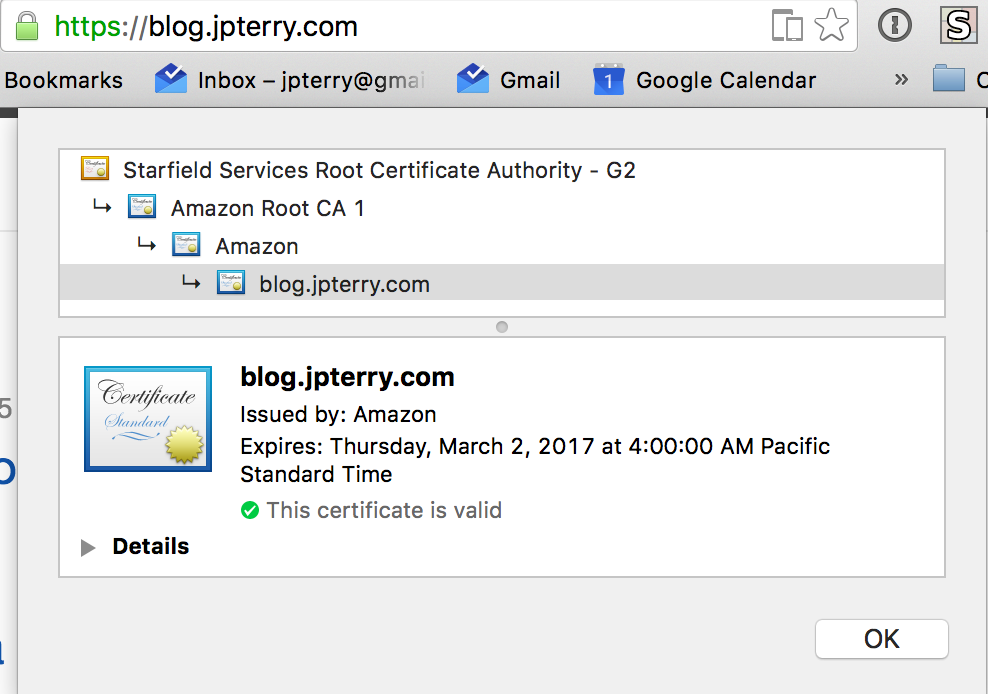
Your content is now hosted on a secured connection. Without having to worry about certificate management or webservers yourself.
Caveats
- Cloudfront doesn’t handle “directory roots” how S3 does. So you need to work around this. For example, the path
/about/will not serve/about/index.htmlfrom cloudfront. So you should generate complete urls everywhere. - If you want to host your site at a naked domain (e.g. jpterry.com), there are more DNS hoops to jump through. Google is your friend.
- The flavor of TLS used by cloudfront here leverages the SNI extension. Older clients may not be compatible. You can also pay more for cloudfront to remove this restriction.
Helpful hints:
-
This is how I publish my blog to S3 after
jekyll build, usings3cmd.s3cmd sync --delete-removed --delete-after --acl-public --cf-invalidate ./_site/ s3://blog.jpterry.com/ --verbose
Thats all for now
Feel free to reach out to me on twitter, or via email with your questions and comments.
Thanks for reading.